My best friend Susan was able to get the very last 5 lbs. of leaf lard from the Carroll Farm-to-Table market stand before they went out of business this Memorial Weekend. (Their customers have been encouraged to shift their business to Mary’s Land, which I have posted as a new resource via the Resources tab).
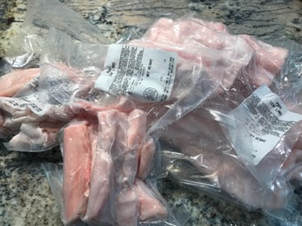 |  |
To be honest, I thought it was going to be rendered leaf lard, but it was neatly-packaged fat from around the kidneys instead. As an Iowa girl and the founder of Lard Lovers, I am timid to admit that I had never rendered my own lard, but the occasion was upon me, so I plunged in.
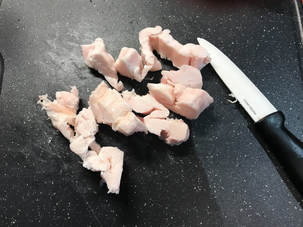
Five pounds is a lot of raw leaf lard, so I cut about half of it into ½-inch slices (but I think I should have diced it into ¼-inch cubes) and added the pieces to a heavy-bottomed pan and put it on the lowest stove setting. I did not add any water, but I’ve since seen recipes that say adding water is good to cushion the liquid fat from burning. Next time. But on very low, I had no problems.
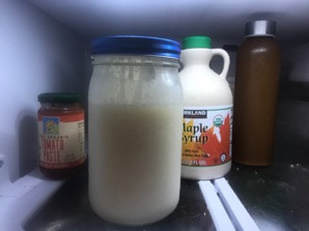
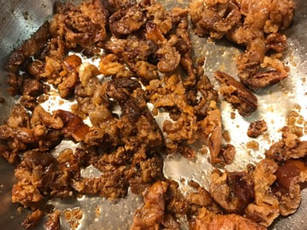
After about 8 hours, my first experience at rendering my own lard yielded about ¾ quart of beautiful white leaf lard and 2½ cups cracklings. When you are cutting up the raw lard, you will see that the fat is encased in a light pink membrane. When the lard melts, this membrane starts to brown and crackle in the bottom of the pan, thus the term “cracklings.” When you pour off the liquid lard, the cracklings are left in the bottom of the pan. My next task was to make my first batch of crackling biscuits… a recipe for which I have posted in the recipe section. Enjoy!
 RSS Feed